Getting Started
Welcome to Clonable, the tool to easily internationalise your website. In this guide, you will learn how to create an account and set up your first translated Clone. The steps are the same for all systems.
Creating an account
Before you can start using Clonable, you first need to create an account. To do so, enter your name and email address and choose a password. Once you have registered, you will be logged into our dashboard automatically.
You can try Clonable for free! After creating an account, you automatically start on a Clonable Free plan. This is perfect for discovering Clonable. Please note that the Free plan only translates a limited number of pages and not all features are available.
Step 1: add your original website
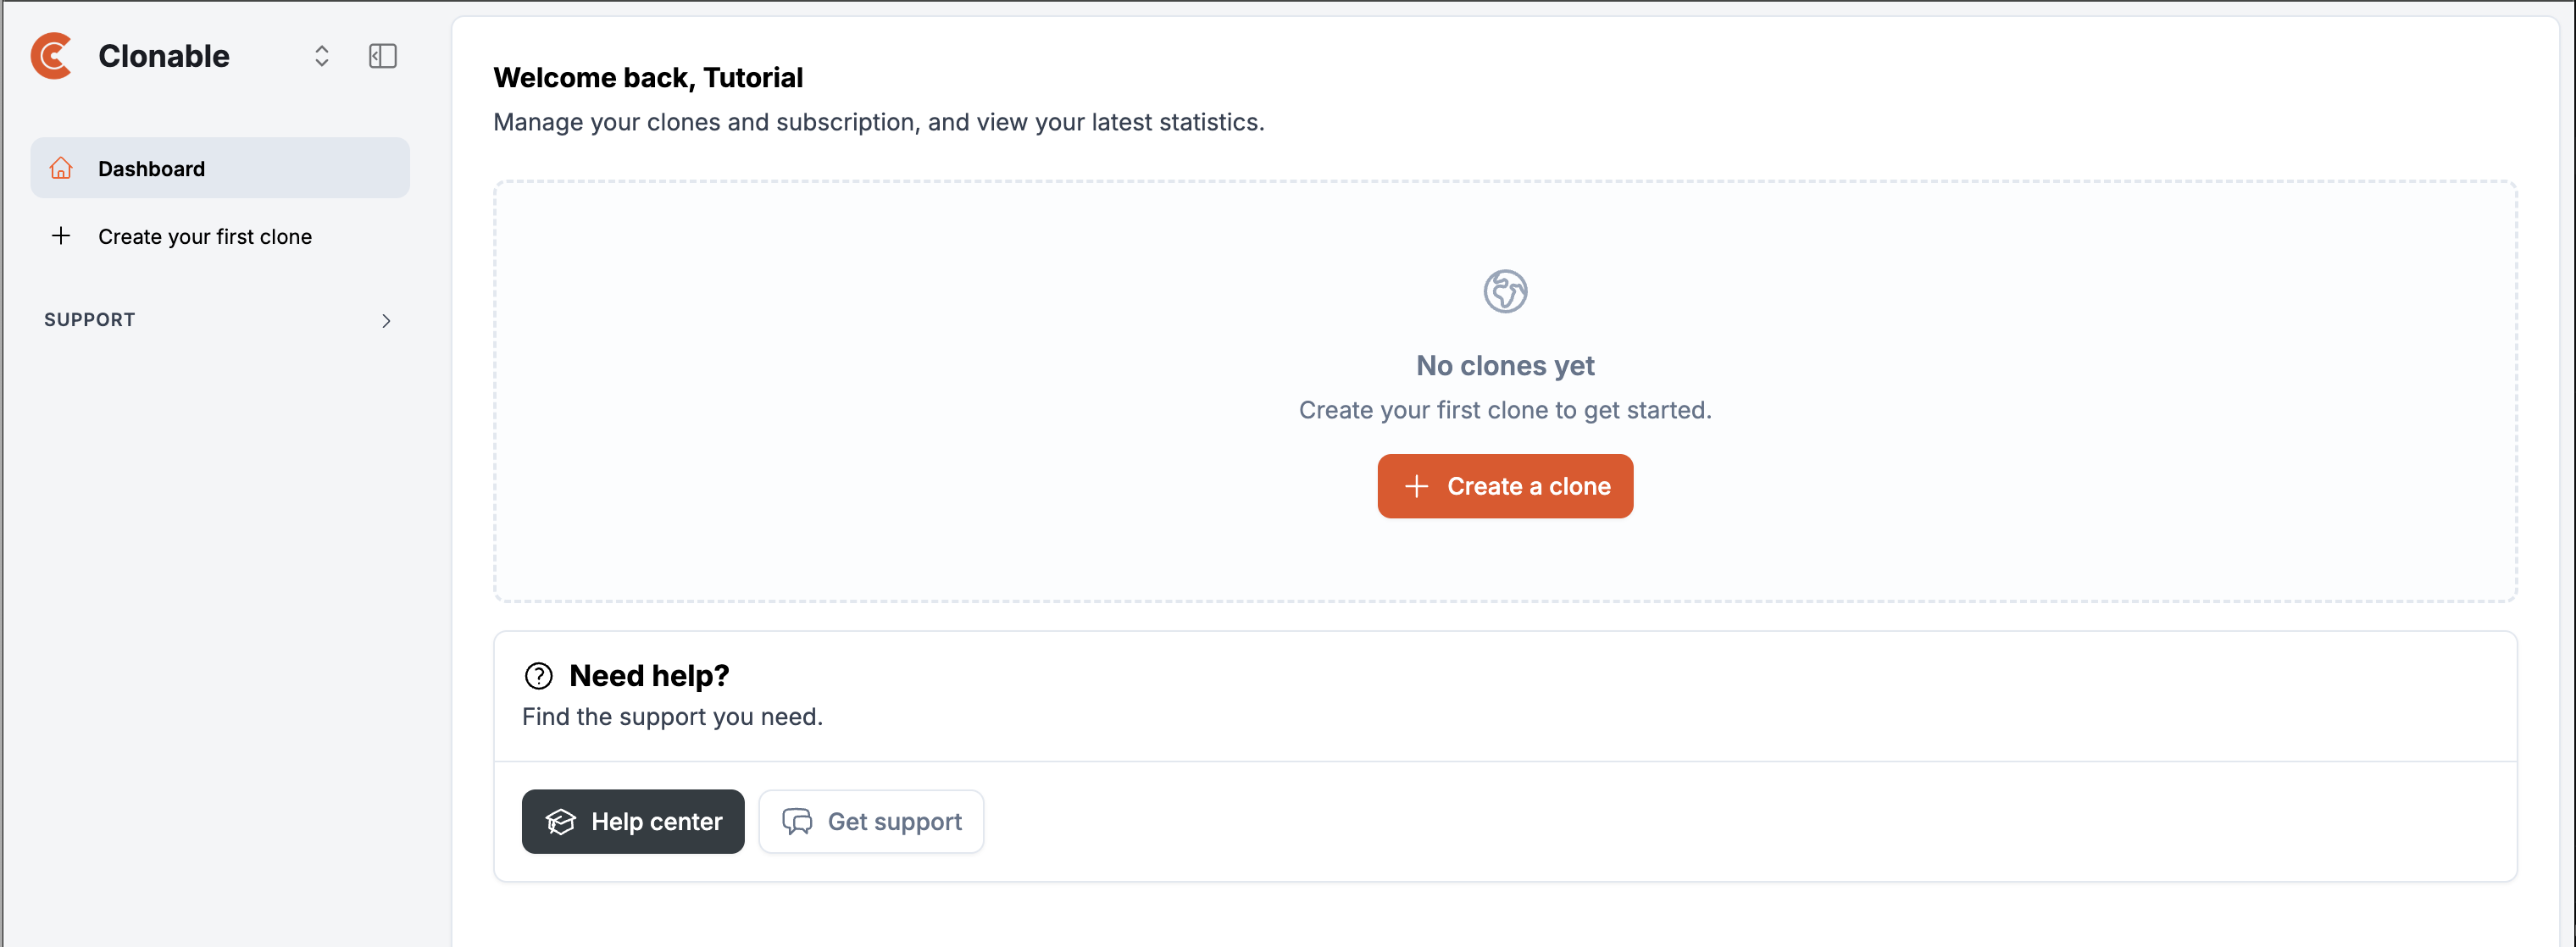
To start creating your first Clone, log in to the dashboard and click Create a Clone:
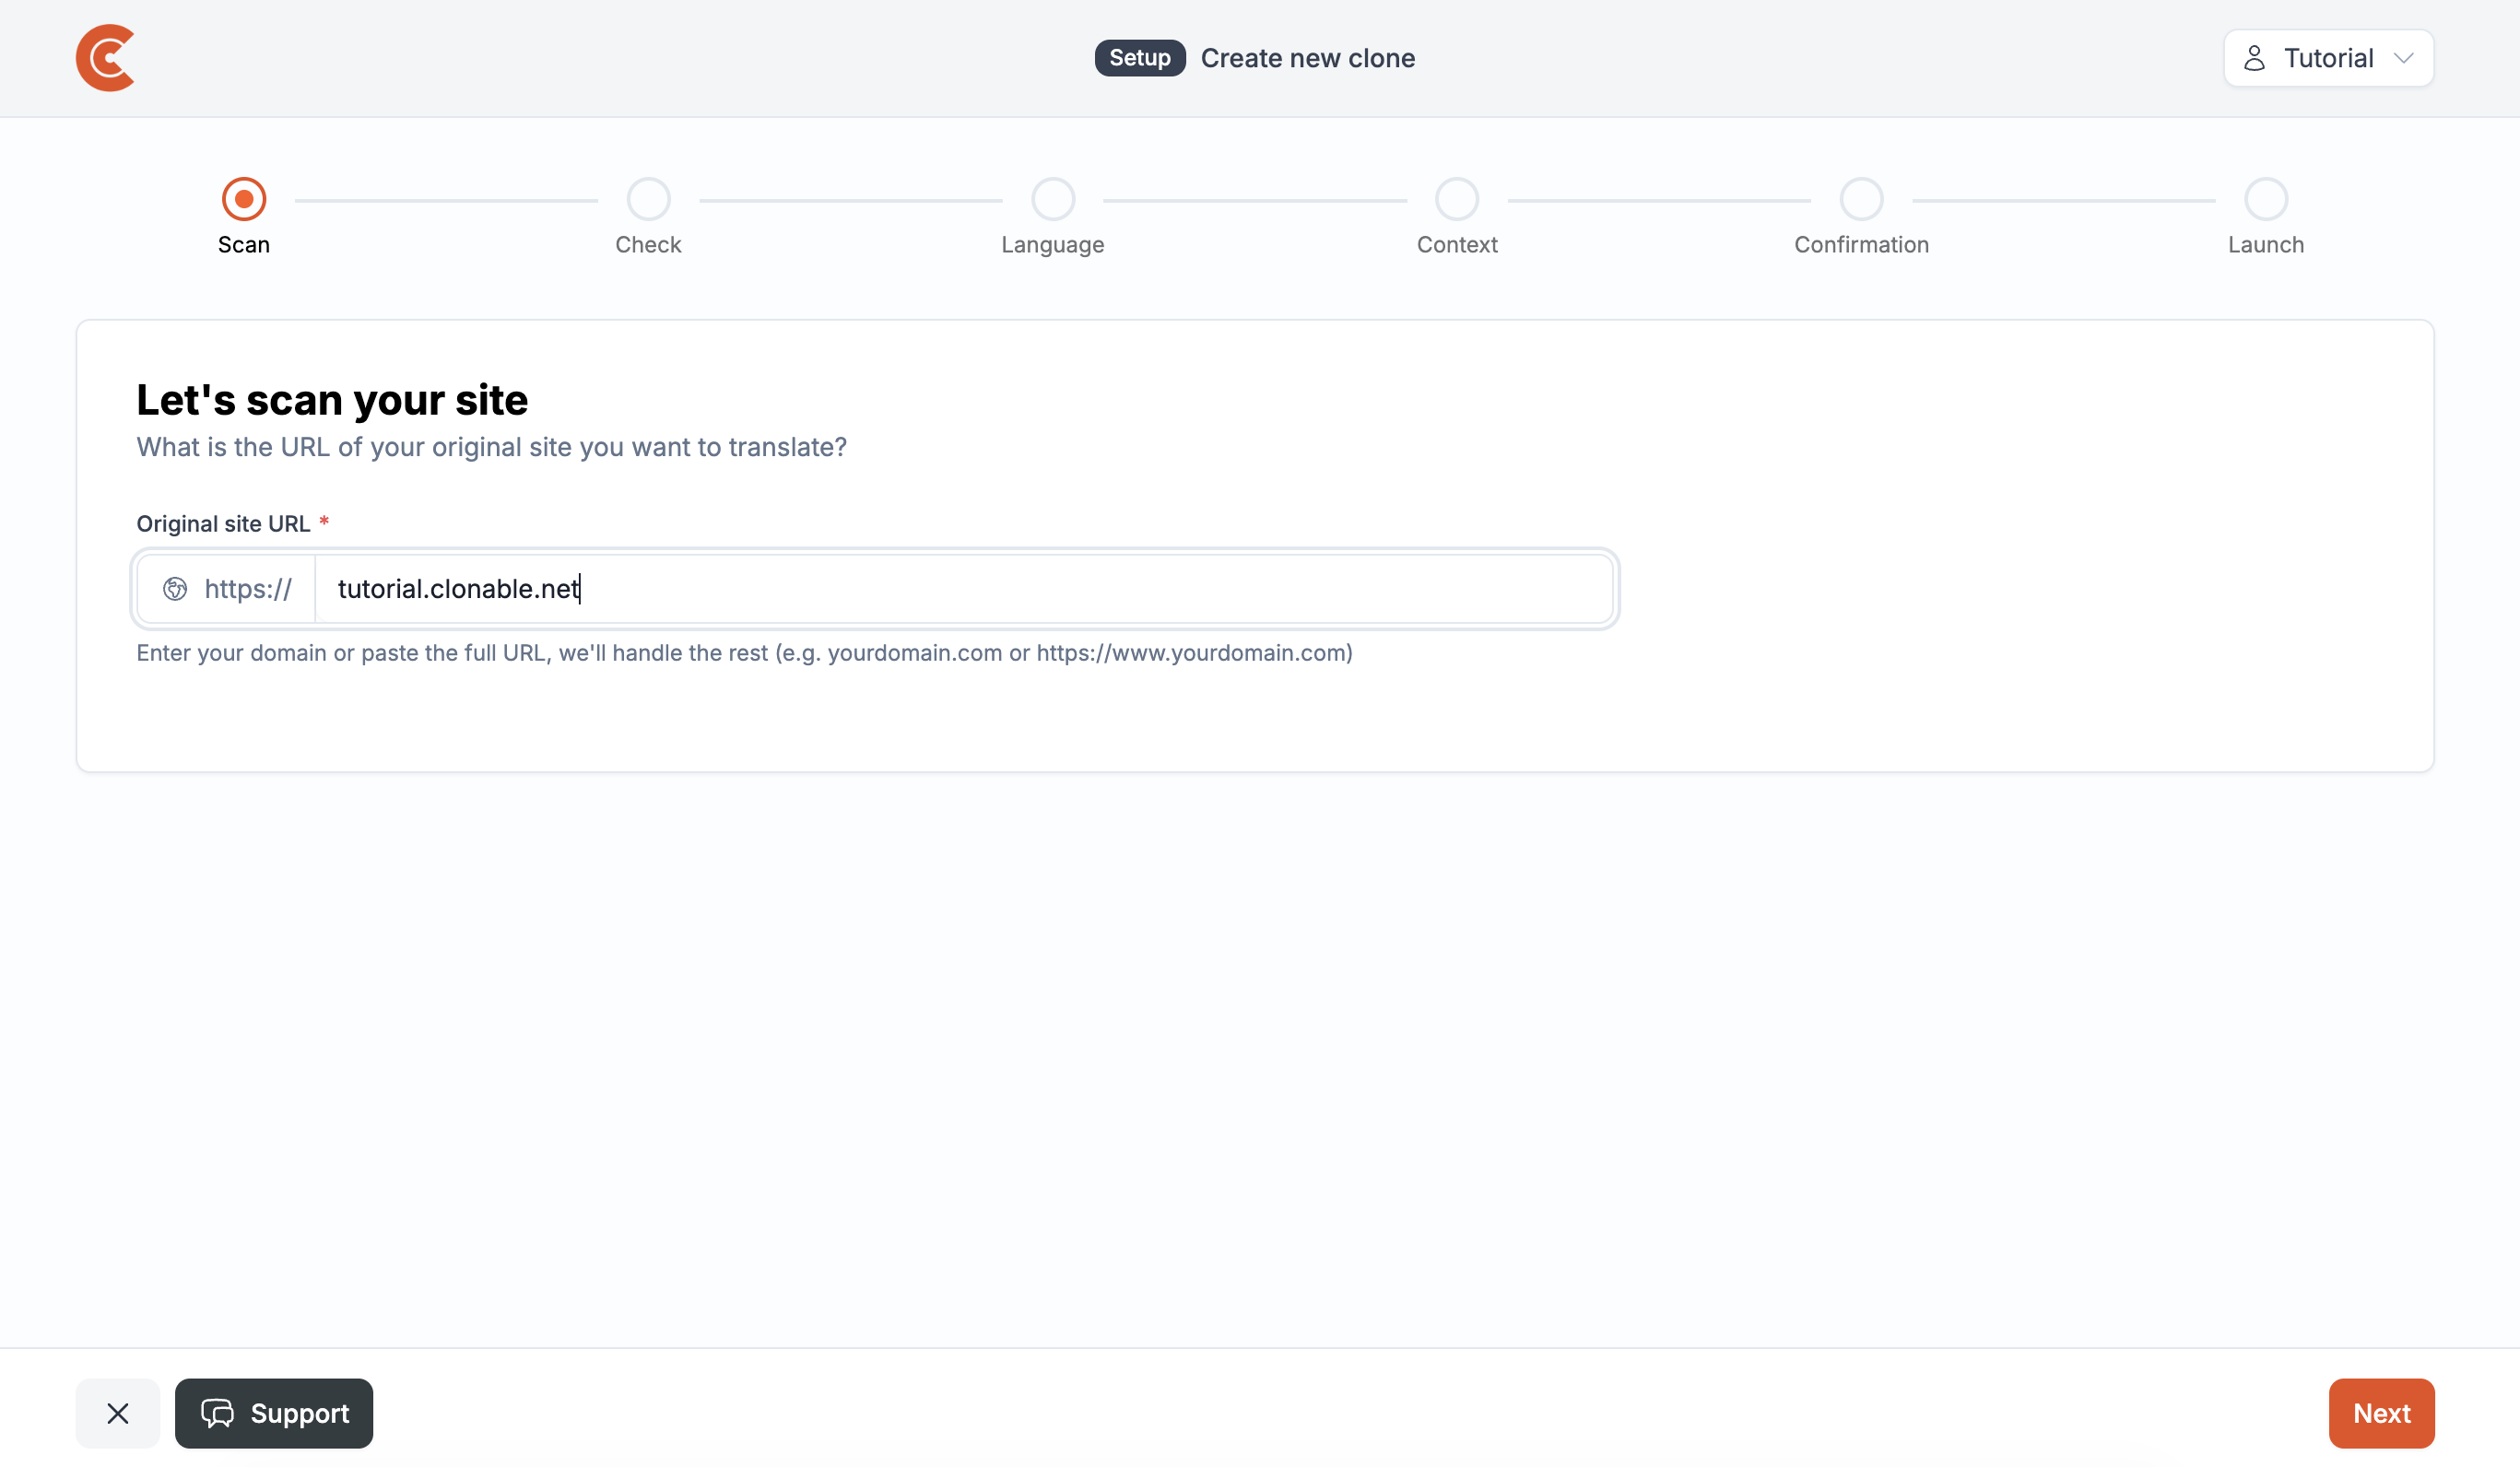
You are then taken to the screen below. Enter the domain of your website without https:// or www. and click Next. Clonable will then try to recognise your website's details automatically. This process can take up to 10 seconds. When Clonable is done, it shows the settings it found so you can check them. Check these values and click Create a Clone of [your domain] to continue.
Step 2: check the details
The setup guide takes you through the process in a few steps.
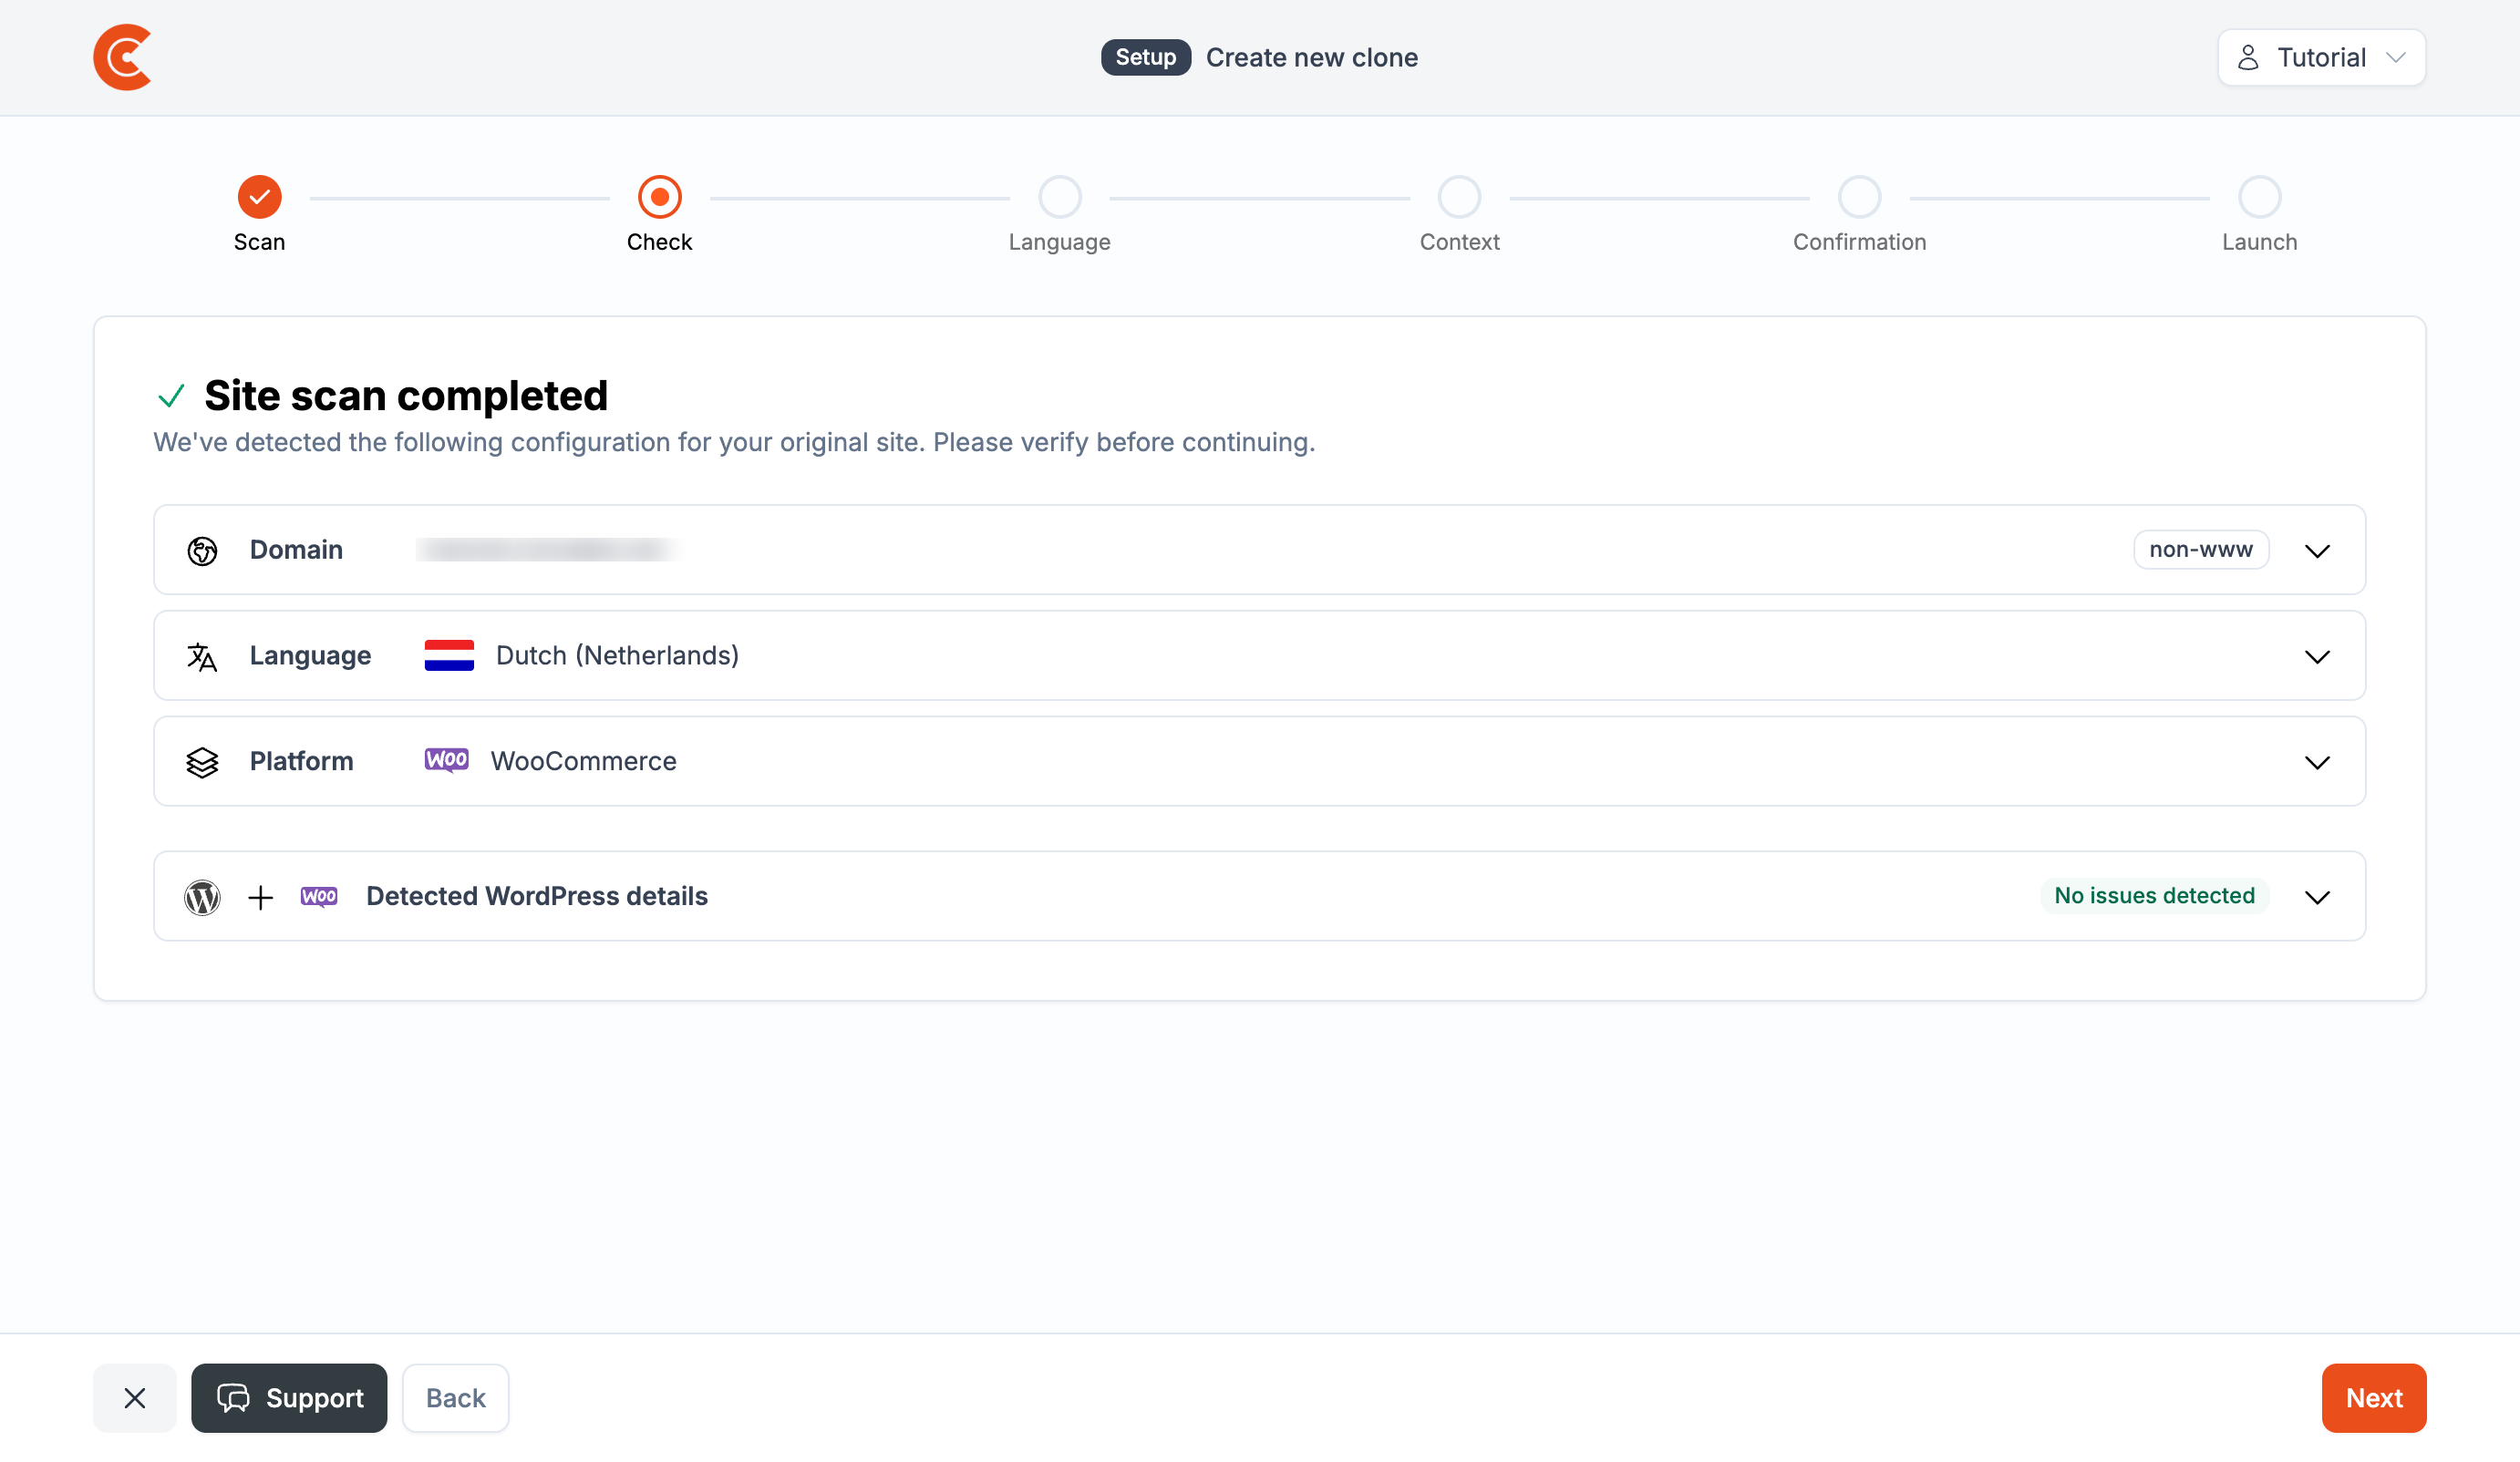
Once you have entered the original site, it will be checked. This may take a moment. When the check is done, you will see the details Clonable retrieved from your site. Check them, fill in anything that was left empty and correct anything that is wrong. When everything is complete, click Next. Please note: this information is about the original site!
Click Continue once you have chosen the language and location.
Step 3: Clone settings
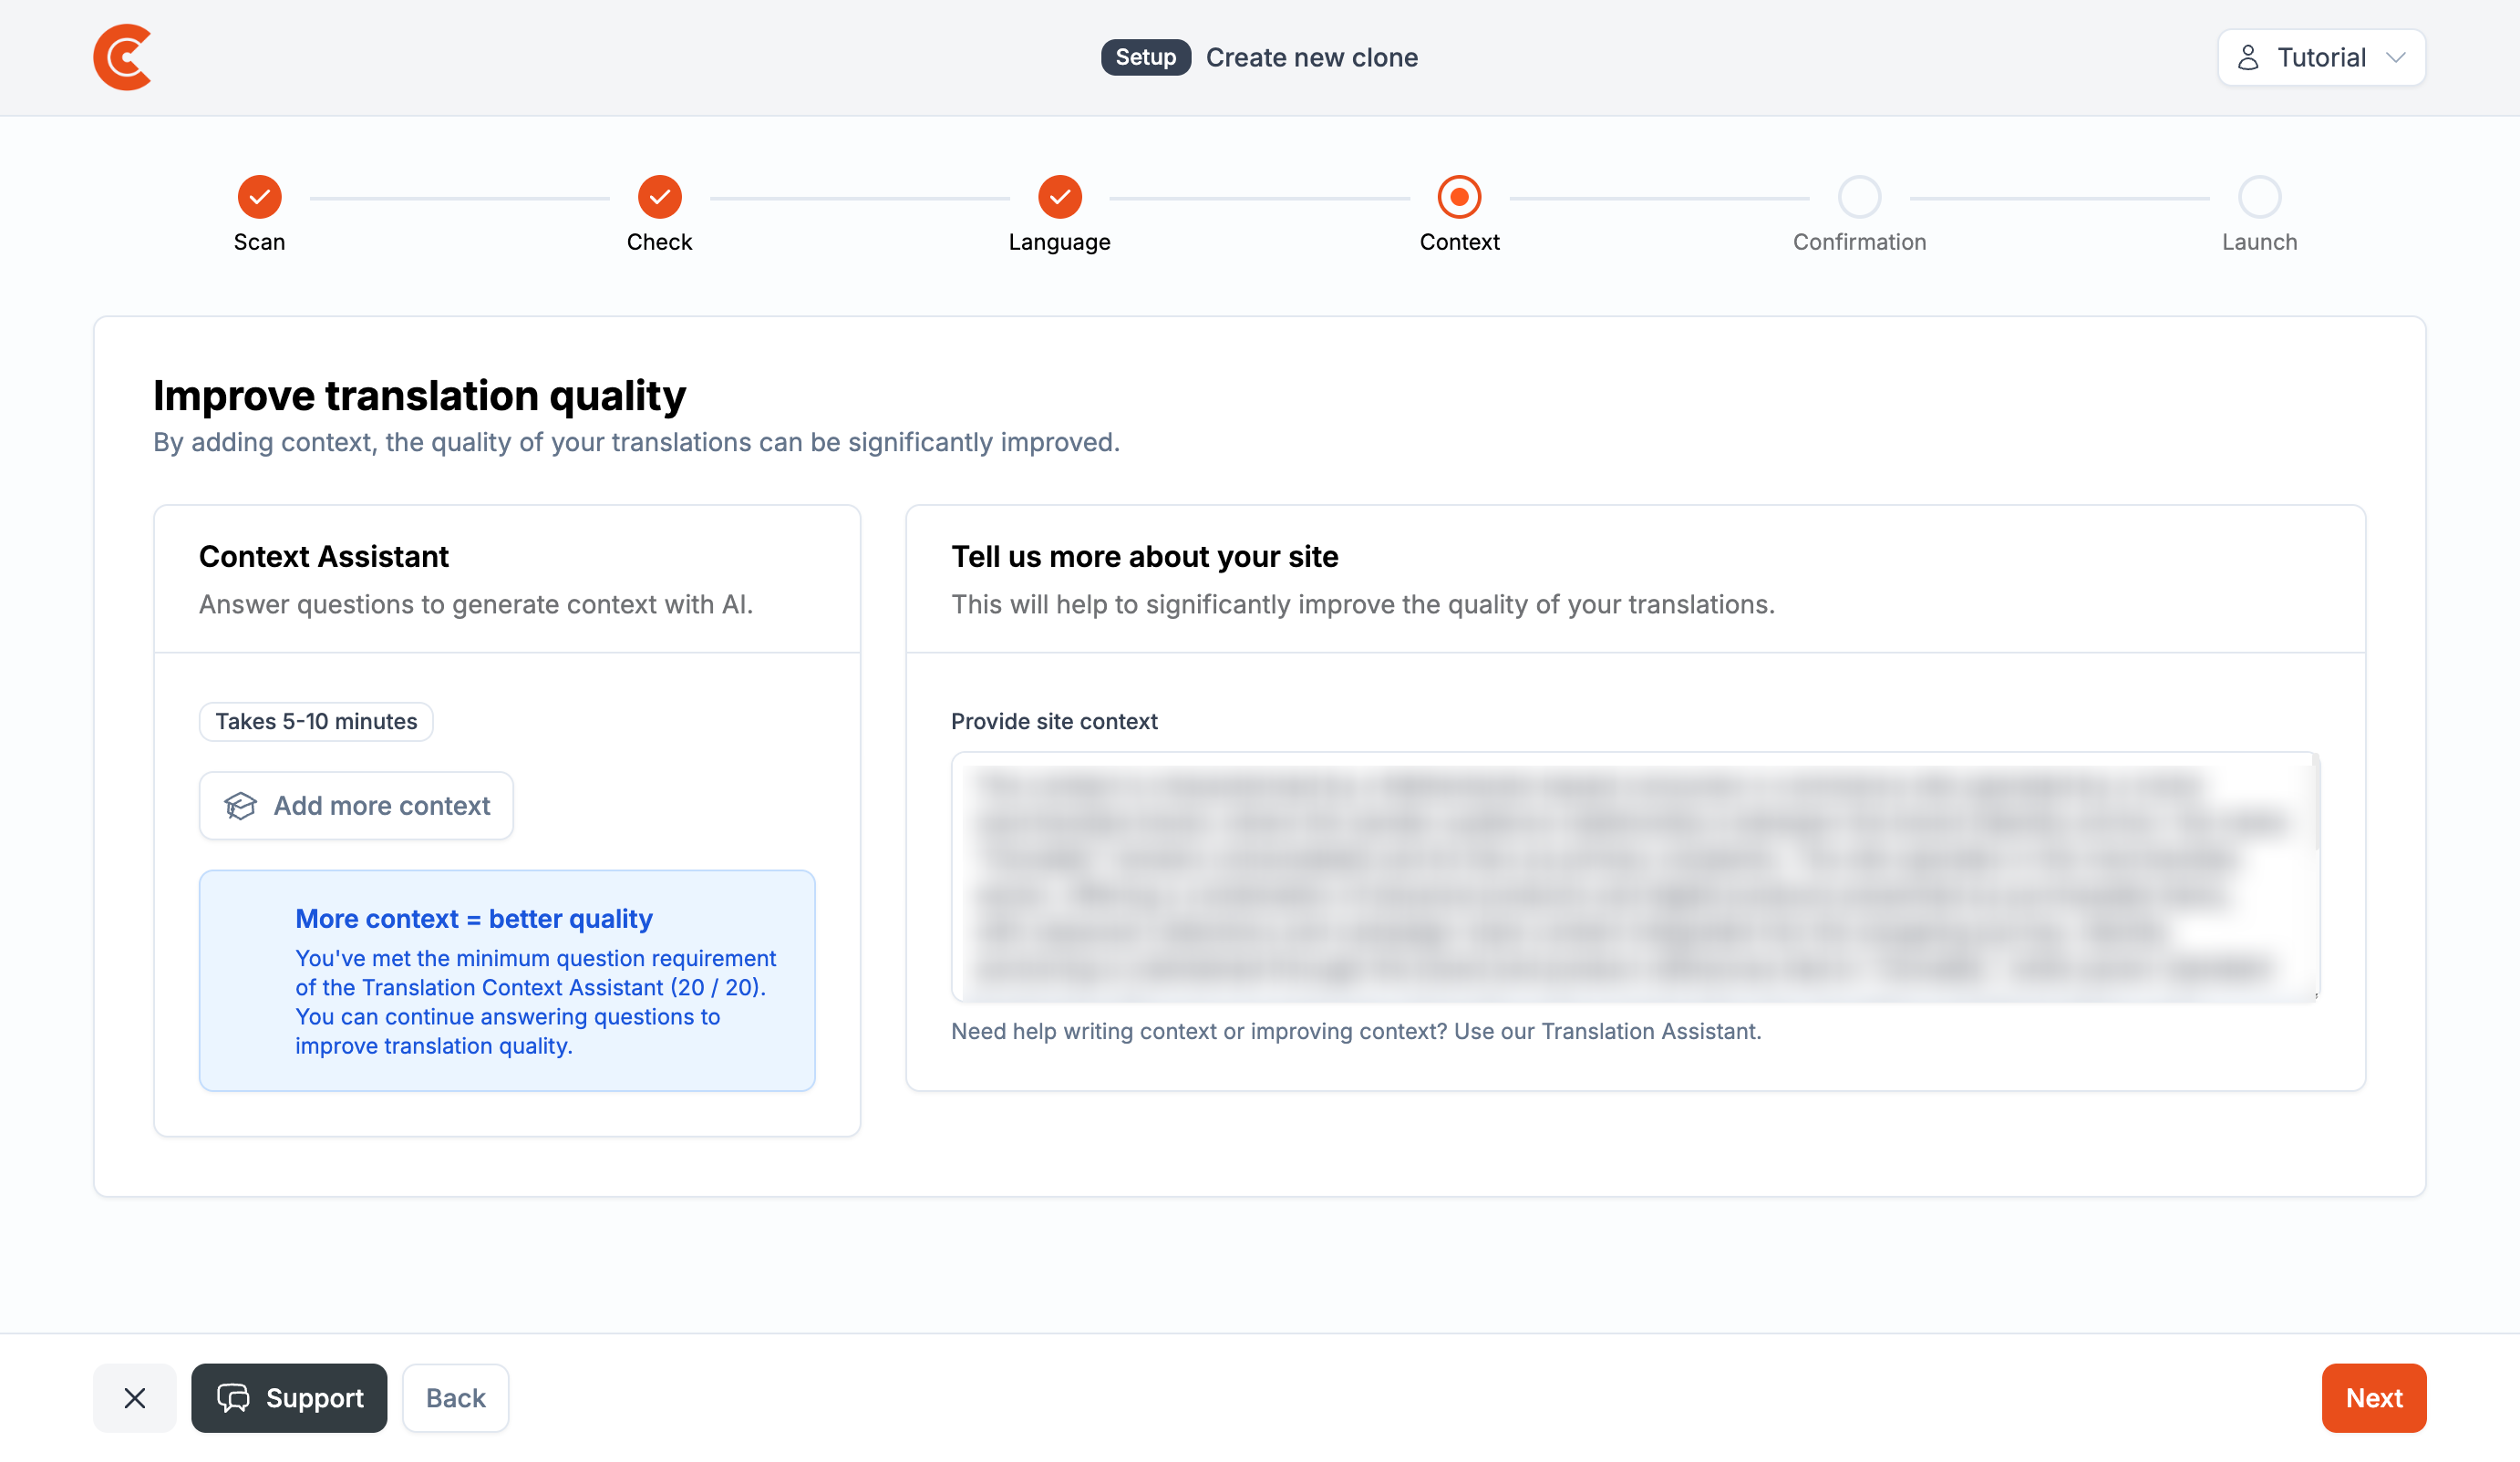
First, set the language for the new Clone and click Next. To get the best possible translation quality, it helps to provide some context. You can fill this in manually or use the Context Assistant to help you. It asks you a series of questions that help clarify what is important to fill in here. Within the Context Assistant, you can choose AI-generated answers or fill in the answers yourself. You can skip questions, but the more questions you answer, the better the suggestions. Once you have finished the context, click Next.
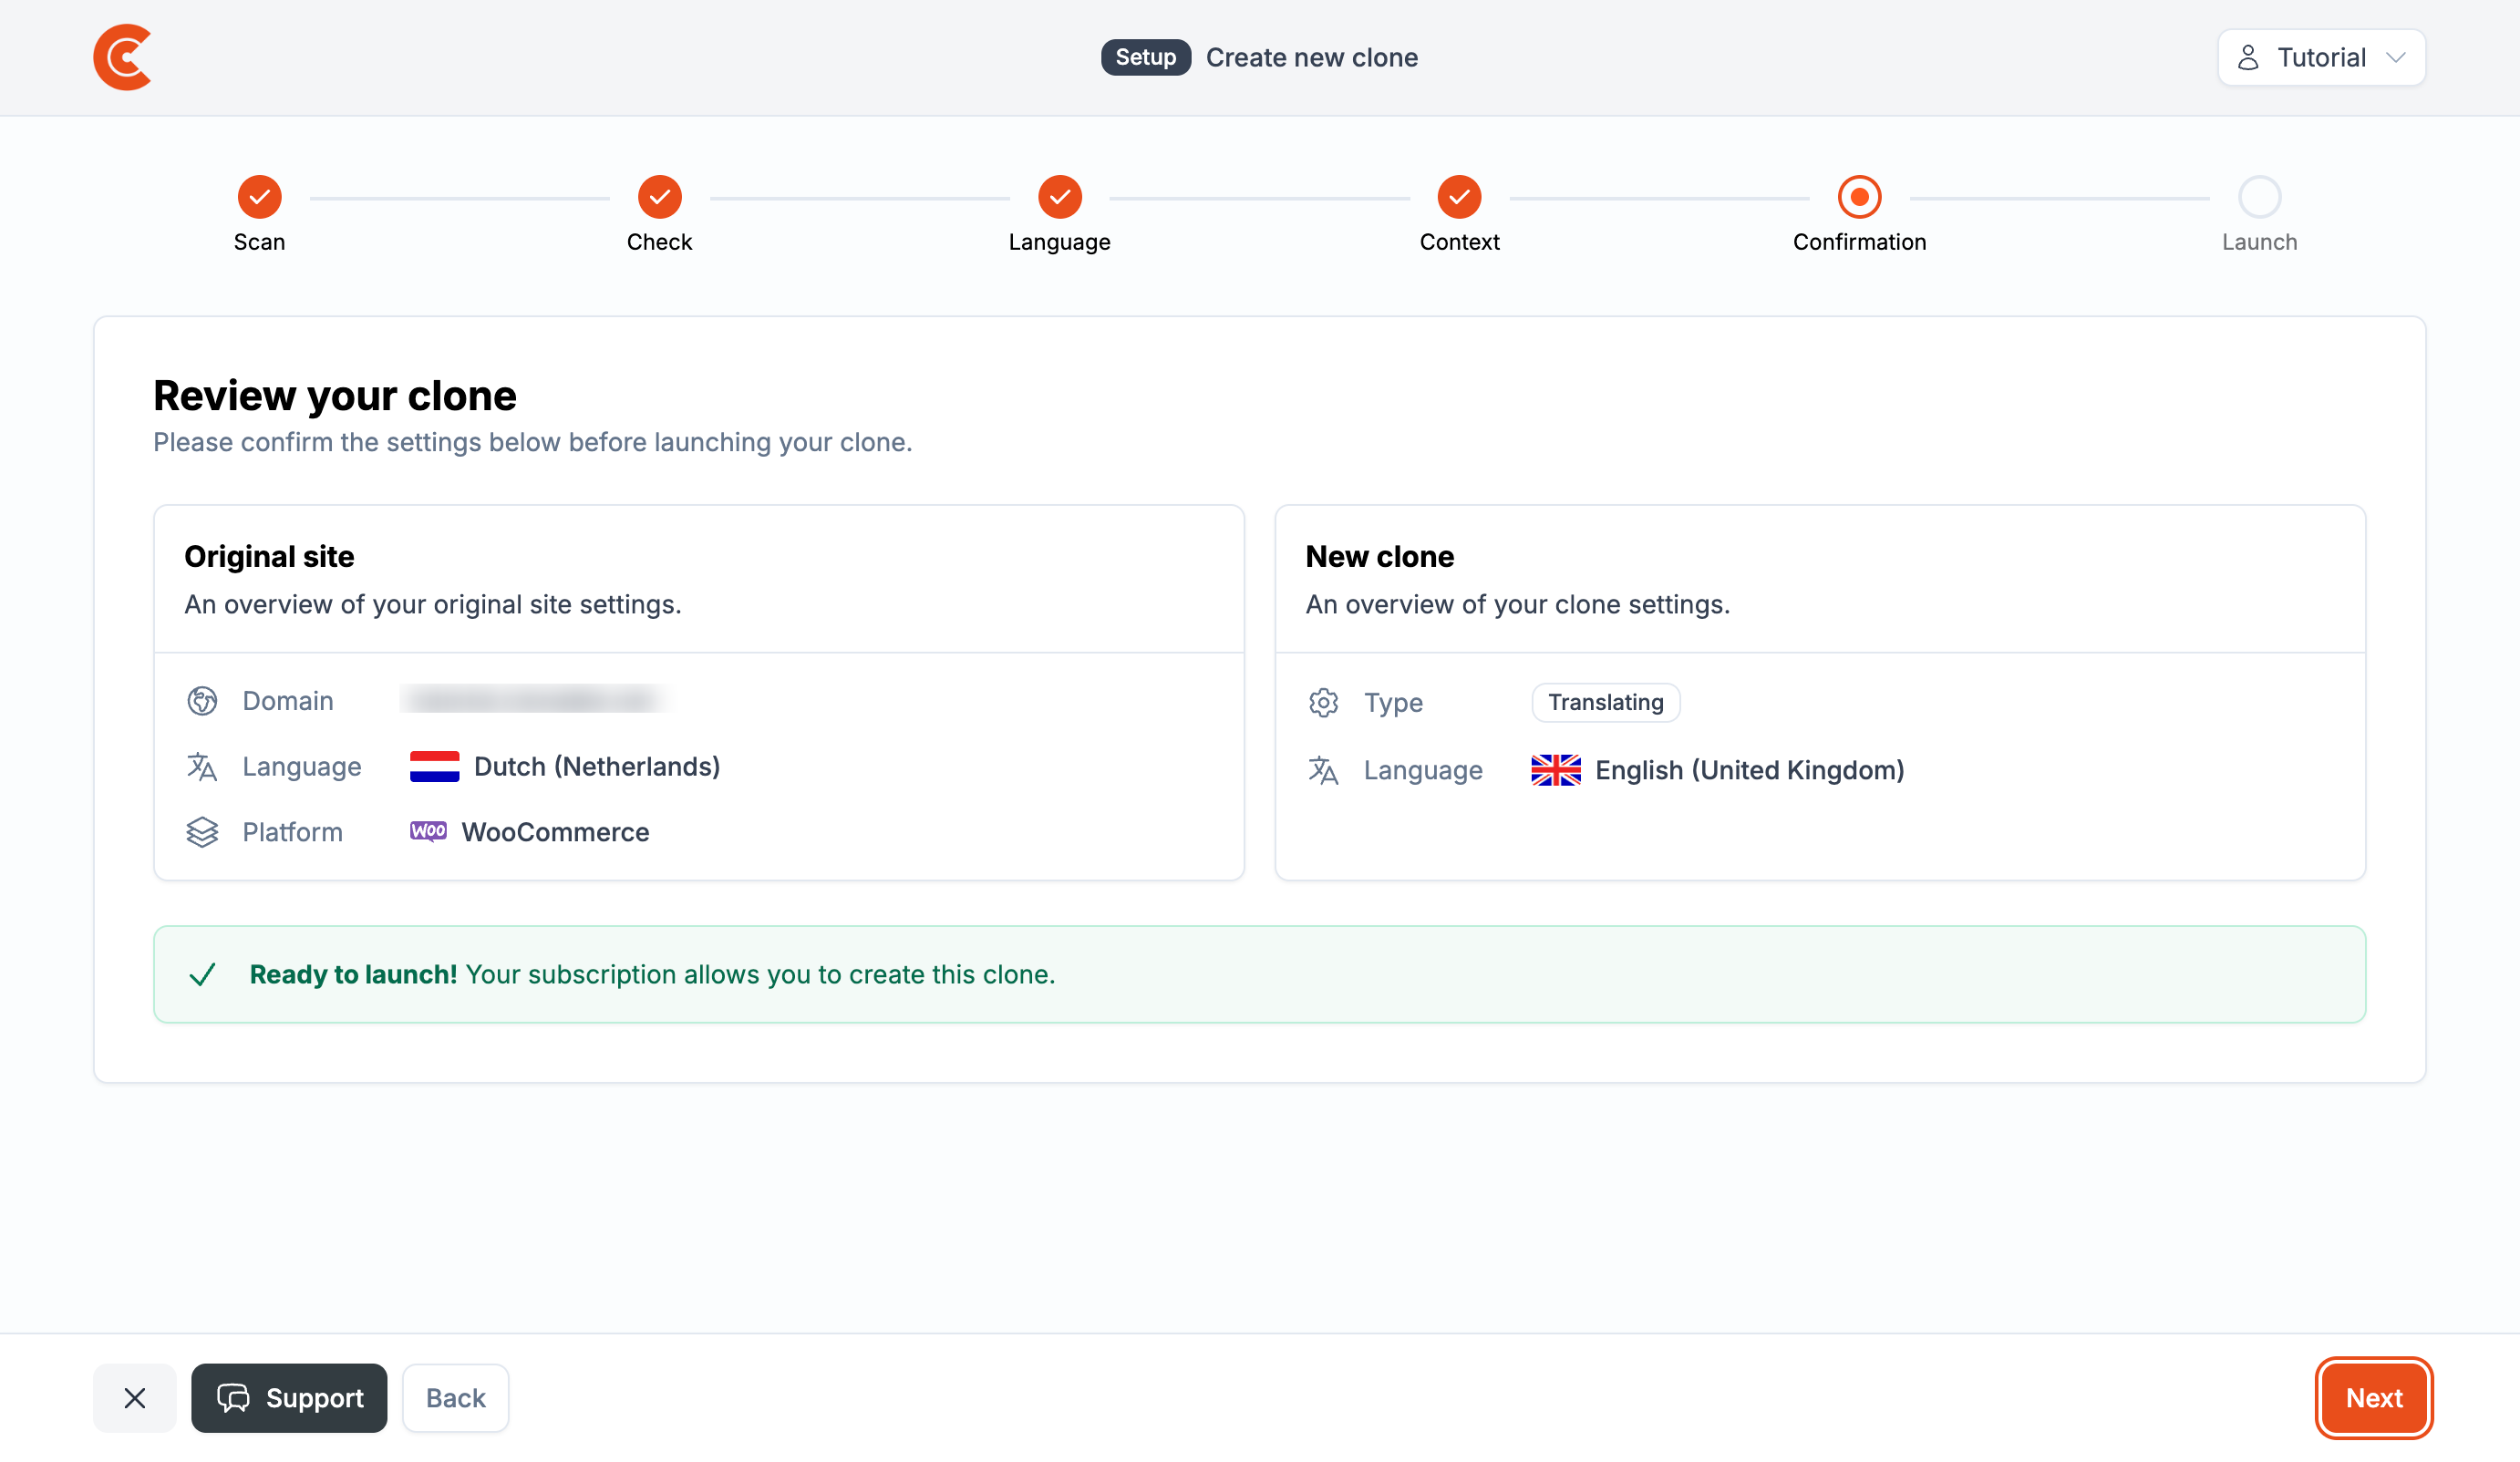
Step 4: check and confirm
The final step is a check. Make sure everything for your Clone is set up correctly. If everything is right, click Next.
Next steps
Congratulations! 🎉 You have now created your first Clone. Within a minute, your Clone will be ready to view. There are a few more steps to take before your Clone is truly live, but in the meantime you can often already admire it via our preview system.
Check the documents below for more handy tips.
📄️ Set up DNS
Here you can read how to set the DNS settings for your Clone.